

Using Buildroot for Reverse Engineering
Overview
When reverse engineering an embedded system that is Linux based, one often wishes that they had an examplar system that could be virtualized, if only to gain familiarity with the nuances of the specific kernel version or to learn more about the running applications without needing the native hardware. Make no mistake, this is a bit of a pipe dream when working with bespoke embedded systems, but if you’re working with a more generalized system (or if you just want to quickly spin up a Linux system to test against using QEMU) buildroot is a tool that can be used to generate images that will run in QEMU! The purpose of this post will be to describe how to build specific kernel images for QEMU using buildroot.
So what is Buildroot?
Buildroot is a collection of tools that can be used to build all of the necessary components to get Linux running on various embedded platforms. Using buildroot we can generate the following (and almost certainly more since I am no expert)
- Kernel Images
- Root Filesystem images, including busybox, etc
- Ramdisk images
The idea behind buildroot is that given a supported hardware target (or QEMU) one can build a specific version of the Linux kernel as well as a root file-system image. Both of these can be customized to the user’s liking but for the purposes of this post we’re just going that will run in QEMU as an example.
Installing
First install the following dependencies (my host machine is Ubuntu 18.04):
1
sudo apt-get install qemu-system-arm sed make binutils build-essential gcc g++ gzip bzip2 perl tar cpio python unzip rsync bc wget libncurses-dev
Download the buildroot source code from here
Unpack it
1
tar xvf buildroot-2019.02.4.tar
Building your first image
1
wrongbaud@wubuntu:~/blog/buildroot$ cd buildroot-2019.02.4
We’re going to target the ARM Versatile PB board for qemu so use the following defconfig:
1
make qemu_arm_versatile_defconfig
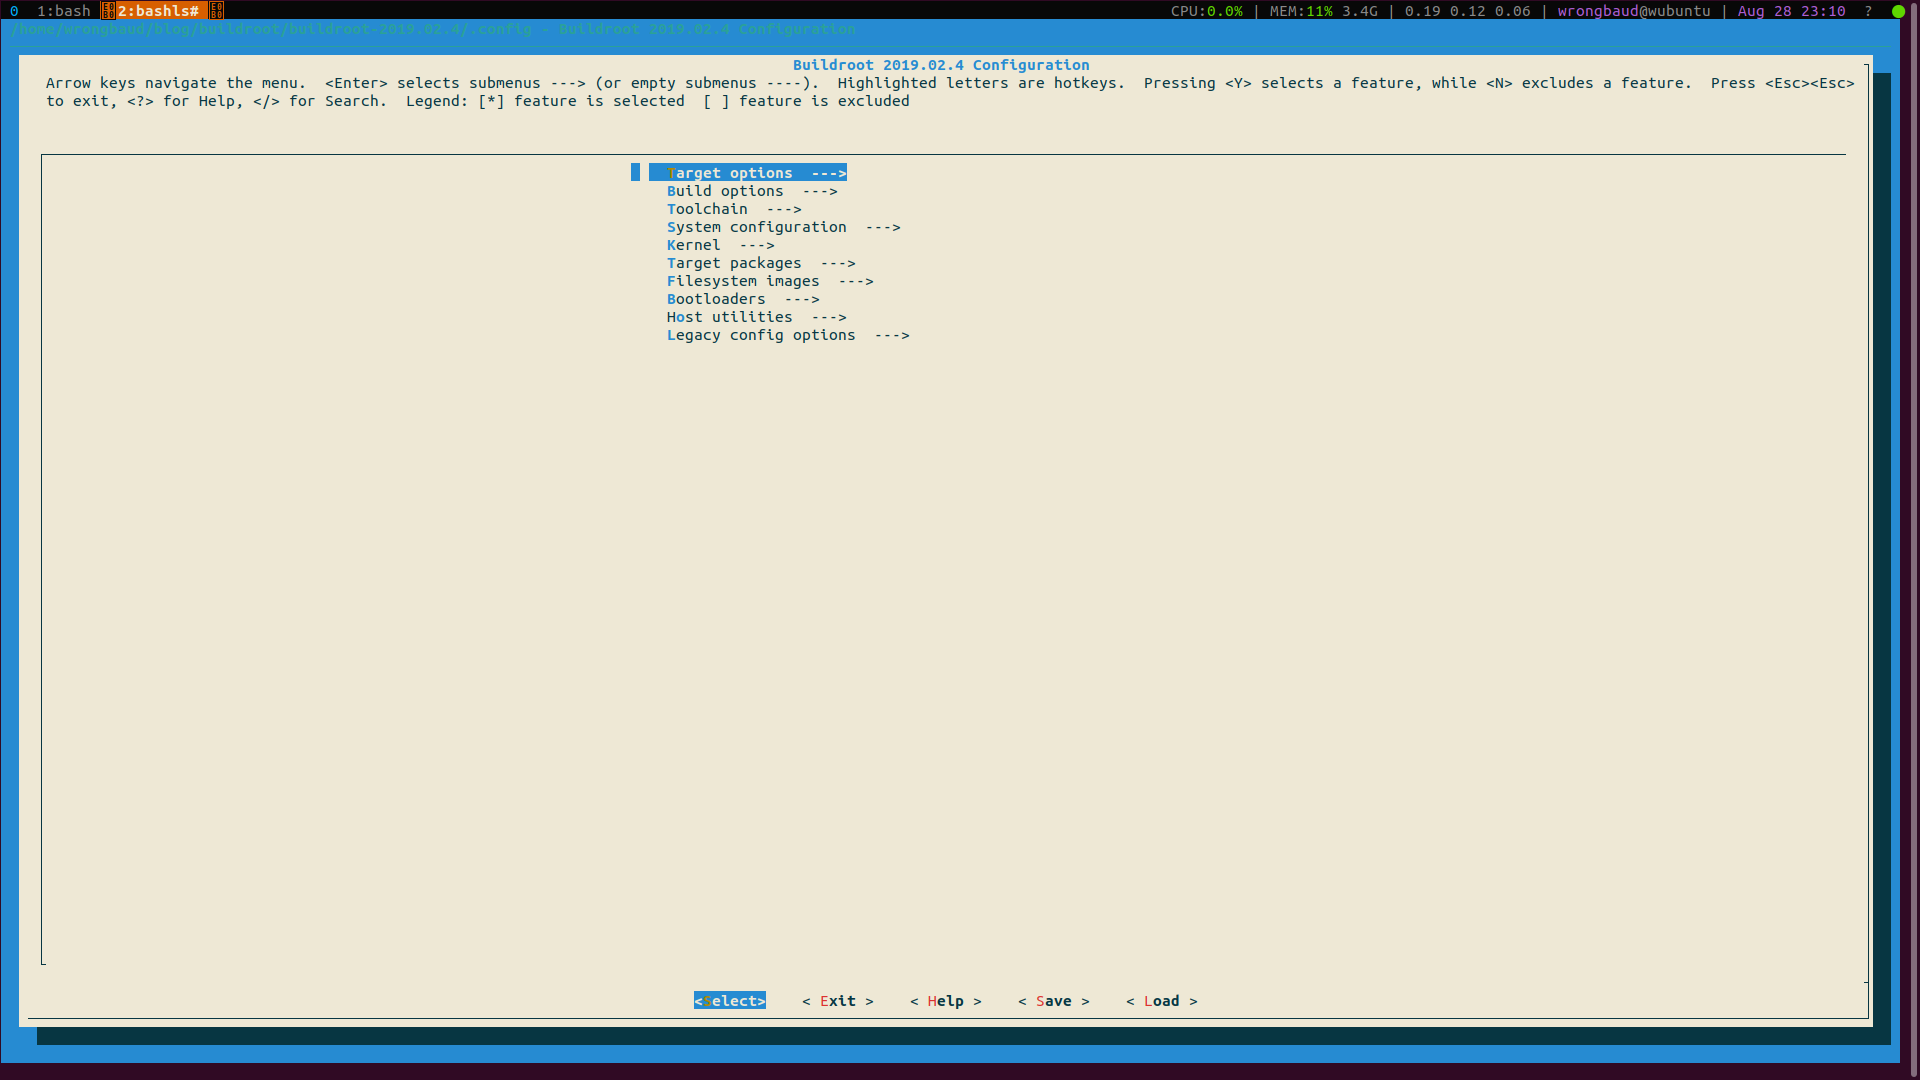
Next, you can run menuconfig, and from this menu you can configure everything about your target system.
We’ll change the banner of our system just to make sure that the changes take effect.
Save your changes and exit, next make the images with the following command:
make -j$(nproc)
Assuming this completes without issues, you will find your resulting kernel and root filesystem in output\images
Next we can run and test our resulting image in qemu, use the command line options below from your buildroot directory!
1
2
3
4
5
6
7
8
9
10
11
12
13
14
wrongbaud@wubuntu:~/blog/buildroot/buildroot-2019.02.4$ qemu-system-arm -M versatilepb -m 256 -kernel output/images/zImage -dtb output/images/versatile-pb.dtb -hda output/images/rootfs.ext2 -append "root=/dev/s
da console=/dev/ttyAMA0,115200" -nographic
WARNING: Image format was not specified for 'output/images/rootfs.ext2' and probing guessed raw.
         Automatically detecting the format is dangerous for raw images, write operations on block 0 will be restricted.
         Specify the 'raw' format explicitly to remove the restrictions.
pulseaudio: set_sink_input_volume() failed
pulseaudio: Reason: Invalid argument
pulseaudio: set_sink_input_mute() failed
pulseaudio: Reason: Invalid argument
vpb_sic_write: Bad register offset 0x2c

Welcome to Buildroot
buildroot login: root
#
For those of you new to QEMU, here is a rundown of the arguments we used:
| Arg | Purpose | Definition |
|---|---|---|
-M | Machine | This defines the qemu machine that we are targeting |
-kernel | Kernel Image | This is our target Linux kernel, QEMU has it’s own bootstrap loader that can be used to load a kernel and run it which is very convenient for us! |
-dtb | Device Tree Blob | When the kernel boots, it needs to have some understanding of the underlying hardware, this is what the device tree is for, this is a flat binary file defining various memory mapped peripherals and other system specific features for the target processor! |
-hda | Hard Drive | This is the drive image that buildroot created that we will use for our root filesystem |
| ```-append | Append to kernel command line | These are the additional kernel command line arguments that we will provide to allow are system to boot. In this example we provide it with the path to the rootfs and the console we want it to use on bootup |
-nographic | No Graphical Interface | This keeps an SDL window from being opened and instead redirects serial output to the terminal we launch from |
Side Note: Building specialized images
Remember when we ran make menuconfig earlier? This can be used to determine what kernel version to build. If we try to build a 3.14.1 kernel what happens? Start by changing the following items in menuconfig
Toolchain->Custom Kernel headers series->3.14.1Kernel->Kernel Version->3.14.1
After saving your config, run make -j$(nproc)
After a while you will notice multiple error messages involving building the kernel and the host toolchain!
There are multiple issues here with how we’ve tried to configure it, mainly that being that we are trying to build an old kernel with a new version of GCC. In the next blog post we will look into how to mitigate some of this and set up a reproducible environment for building older images using Docker!
Conclusion
Using buildroot we were quickly able to spin up a 4.19 Linux image that could be run in Qemu. This could be useful when performing vulnerability research, reverse engineering or when trying to reproduce other people’s work that targets a specific Linux kernel version!
Blog Updates (as of 2022):
Future blog posts and entries can be found here.
If you are interested in learning more about reverse engineering check out my 5 day hardware hacking course, public and private offerings are available upon request
Never want to miss an update or blog post? Check out my mailing list for a quarterly newsletter about reverse engineering embedded devices