

Background
The Tricore CPU architecture is commonly found in automotive embedded systems, often running an RTOS or even just bare metal firmware. This post will go over setting up an entry level toolchain for the Tricore architecture under Linux, and how we can use this toolchain when reverse engineering automotive platforms. We will also go over and provide a very simple bare metal loader.
This will be the first in a series of posts about the Tricore architecture and reverse engineering Tricore based embedded systems. For this series we’ll be targeting a Tricore 1767, which is an older but commonly used CPU in automotive systems.
In the past when reverse engineering and occasionally developing payloads I’ve written all of my Tricore code in ASM and never really explored the idea of using any available compilers. This series will explore these options and hopefully help some people out along the way…or at least entertain!
Goals
- Setup HighTec Embedded toolchain under Linux (Ubuntu 18.04) using WINE.
- Build a “Hello World” binary to toggle GPIO Lines perform very basic initialization routines
- Disassemble/Decompile the binary using GHIDRA
A very brief Infineon Tricore Intro
The Infineon Tricore architecture is a commonly used architecture in automotive embedded systems. It typically contains a RISC core, micro-controller and often a DSP package. There are 32 general purpose registers, Address: A0-A15,Data: D0-D15. and System: PCXI.PSW,PC, the System registers are considered special function registers. For this post, we will not dive into architecture specifics as we are just setting up tools and toolchains, for those of you interested in some very dry reading, please see this PDF!
Setting up the Tricore toolchain under WINE
Unzip the toolchain
1
unzip free_tricore_entry_tool_chain.zip
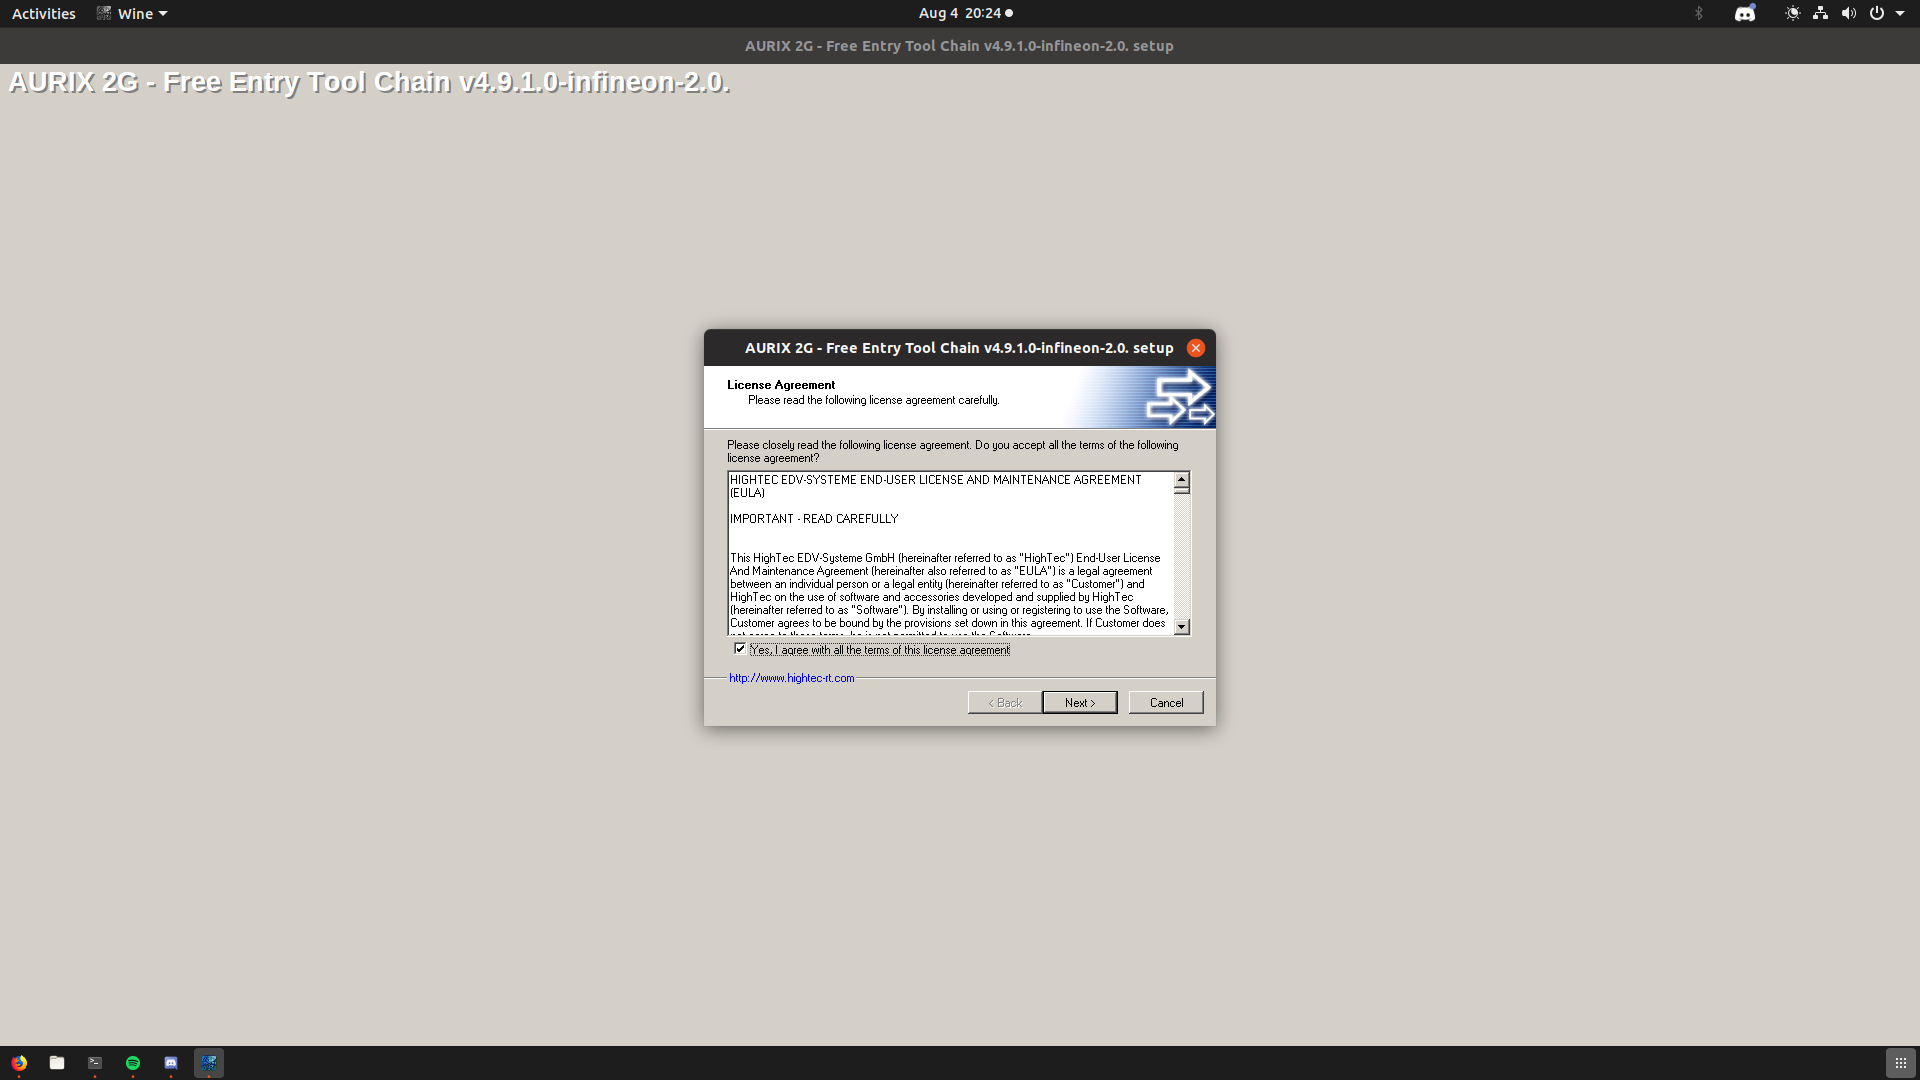
Run Setup.exe with WINE:
1
wine Setup.exe
Next click through the install as seen below
Once the installation has finished, you will find the files we care about in the resulting directory:
1
~/.wine/drive_c/HIGHTEC/toolchains/tricore/v4.9.1.0-infineon-2.0/bin
You can add this to your path with the following:
1
export PATH=$PATH:~/.wine/drive_c/HIGHTEC/toolchains/tricore/v4.9.1.0-infineon-2.0/bin
Now try invoking the gcc compiler with wine as seen below:
1
2
3
wrongbaud@wubuntu:~$ wine tricore-gcc.exe
tricore-gcc.exe: fatal error: no input files
compilation terminated.
Great! So now lets right some simple code to toggle a GPIO line!
Build a “Hello World” binary to toggle a GPIO line
Lets start with a simple main.c that will (according to our datasheet) initialize and toggle a GPIO line!
1
2
3
4
5
6
7
8
9
10
11
12
13
14
15
16
17
18
19
20
21
22
23
24
25
26
27
28
29
30
31
32
33
34
35
36
37
38
39
40
41
42
43
44
45
46
47
48
49
50
51
52
53
54
55
56
57
/*
 * main.c
 *  Created on: Mar 6, 2019
 *      Author: wrongbaud
 */

#include <tc1767.h>
#include <tc1767/scu/addr.h>
#include <tc1767/scu/types.h>
#include <tc1767/port5-struct.h>

typedef struct
{
	unsigned int _con0;
	unsigned int _con1;
}WdtCon_t;

void disable_gpios()
{
	unsigned int * GPIO_CTRL_REG = 0xF0000F1C;
	unsigned int * GPIO_OUTPUT_REG = 0xF0000F04;
	*GPIO_CTRL_REG = 0x80208020;
	*GPIO_OUTPUT_REG = 0x00000000;
}
void toggle_pin_15()
{
	unsigned int * GPIO_CTRL_REG = 0xF0000F1C;
	unsigned int * GPIO_OUTPUT_REG = 0xF0000F04;
	*GPIO_CTRL_REG = 0x80208020;
	*GPIO_OUTPUT_REG = 0x80008000;
}

void main()
{
    // Configure WDT and ENDINT as described in user manual
	unsigned int wcon0,wcon1;
	volatile WdtCon_t *wdtaddr = 0xF00005F0;
	wcon0 = wdtaddr->_con0;
	wcon1 = wdtaddr->_con1;
	// Unlock WDT and disable ENDINT protection so we can reconfigure clocks
	wcon0 &= 0xffffff03;
	wcon0 |= 0xf0;
	wcon0 |= (wcon1 & 0xc);
	wcon0 ^= 0x2;
	wdtaddr->_con0 = wcon0;
	wcon0 &= 0xfffffff0;
	wcon0 |= 0x2;
	wdtaddr->_con0 = wcon0;
	(void) wdtaddr->_con0;
	// Reconfigure clock speed as reccomended in user manual
	SCU_PLLCON0_t * SCU_PLLCON0 = (SCU_PLLCON0_t*) SCU_PLLCON0_ADDR;
	SCU_PLLCON0->bits.VCOBYP = 0;
	SCU_PLLCON1_t * SCU_PLLCON1 = (SCU_PLLCON1_t *) SCU_PLLCON1_ADDR;
	SCU_PLLCON1->bits.K1DIV = 0;
	toggle_pin_15();
	return 0x1337
}
Next, we’ll try to compile this code as follows:
1
wine ~/.wine/drive_c/HIGHTEC/toolchains/tricore/v4.9.1.0-infineon-2.0/bin/tricore-gcc.exe main.c
Oh no! The first big misstep in our journey has appeared!
1
2
3
4
5
6
7
8
wrongbaud@wubuntu:~/blog/tricore$ wine tricore-gcc.exe hello.c
license check: Can't read license data (-102)
No such file or directory (errno: 2)
license check: No valid license!
hello.c:1:0: error: error in licenser

 ^
hello.c:1:0: error: license check failed
Remember the License file we needed earlier? It looks like wine / tricore-gcc.exe can’t find it. After a fair amount of time digging through docs, and troubleshooting wine, I loaded the tricore-gcc.exe in IDA and found out that there was a crucial argument not displayed when you run tricore-gcc.exe --help …
The argument -mlicense-key=dir can be used to specify a directory containing the license file, so lets copy that into our working directory and run the following…
1
wine ~/.wine/drive_c/HIGHTEC/toolchains/tricore/v4.9.1.0-infineon-2.0/bin/tricore-gcc.exe hello.c -mlicense-dir=$(pwd)
And we have a resulting a.out in our directory!
Most of my experience with the Tricore Architecture is in the realm of reverse engineering. Up until recently, only IDA Pro could be used to disassembly Tricore binary files, however recently github user mumbel recently submitted a Tricore processor module to Ghidra! We will spend the second part of this post building the latest version of Ghidra and checking out this new processor module.
Building / Installing GHIDRA
In case you’ve not installed it yet, pull down the latest version of GHIDRA from: github
Since we are targeting a Tricore processor, you will need to build the latest version of GHIDRA yourself,but dukebarman has made a very useful docker container for doing so!
You can use the following docker container to build the latest version of GHIDRA: https://github.com/dukebarman/ghidra-builder
I have fork here as well, which addresses and error I ran into when trying to build GHIDRA the first time
To build GHIDRA using dukebarman’s docker container do the following (this is also in the README):
- Clone the repository:
git clone https://github.com/dukebarman/ghidra-builder - Enter the directory
cd ghidra-builder - Build the Docker container:
sudo docker-tpl/build - Build ghidra:
cd workdir; sudo ../docker-tpl/run ./build_ghidra.sh
Once this script finishes, there will be a zip file in the out folder, unzip that to get your freshly built GHIDRA!
Loading the resulting binary in GHIDRA
Launch your recently built ghidra as follows (change the paths to match your system):
./blog/ghidra-builder/workdir/out/ghidra_9.1_DEV/ghidraRun
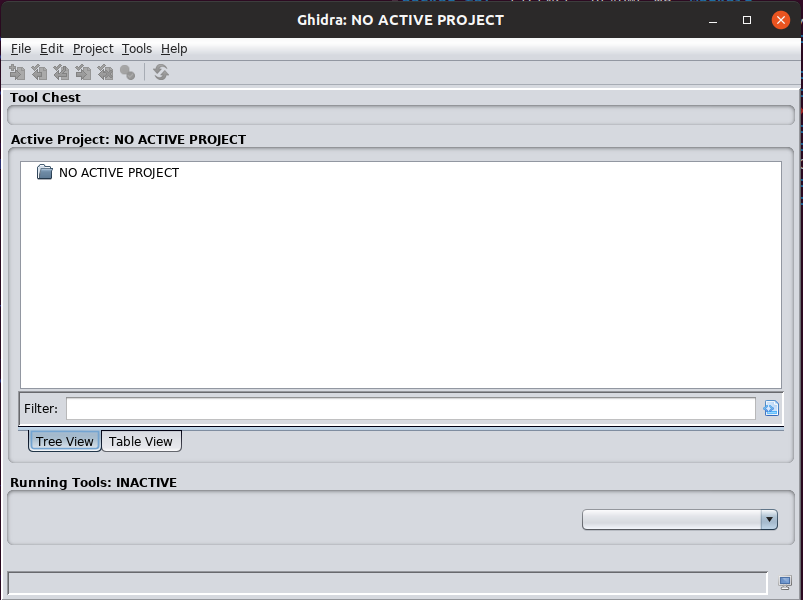
You will see this window asking you to create a project, here I’m making one called blog
Next we select the project location, choose anywhere you’d like

Finally click on the green dragon button at the top left window to open Ghidra
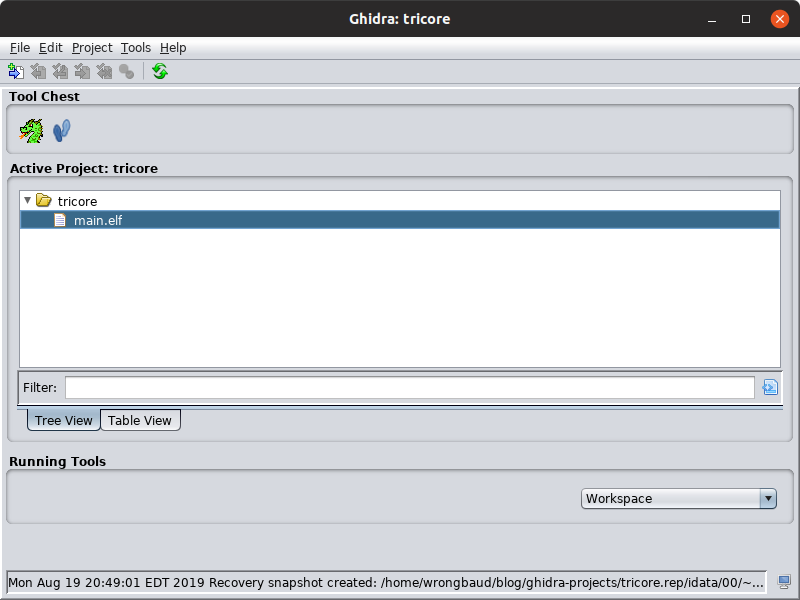
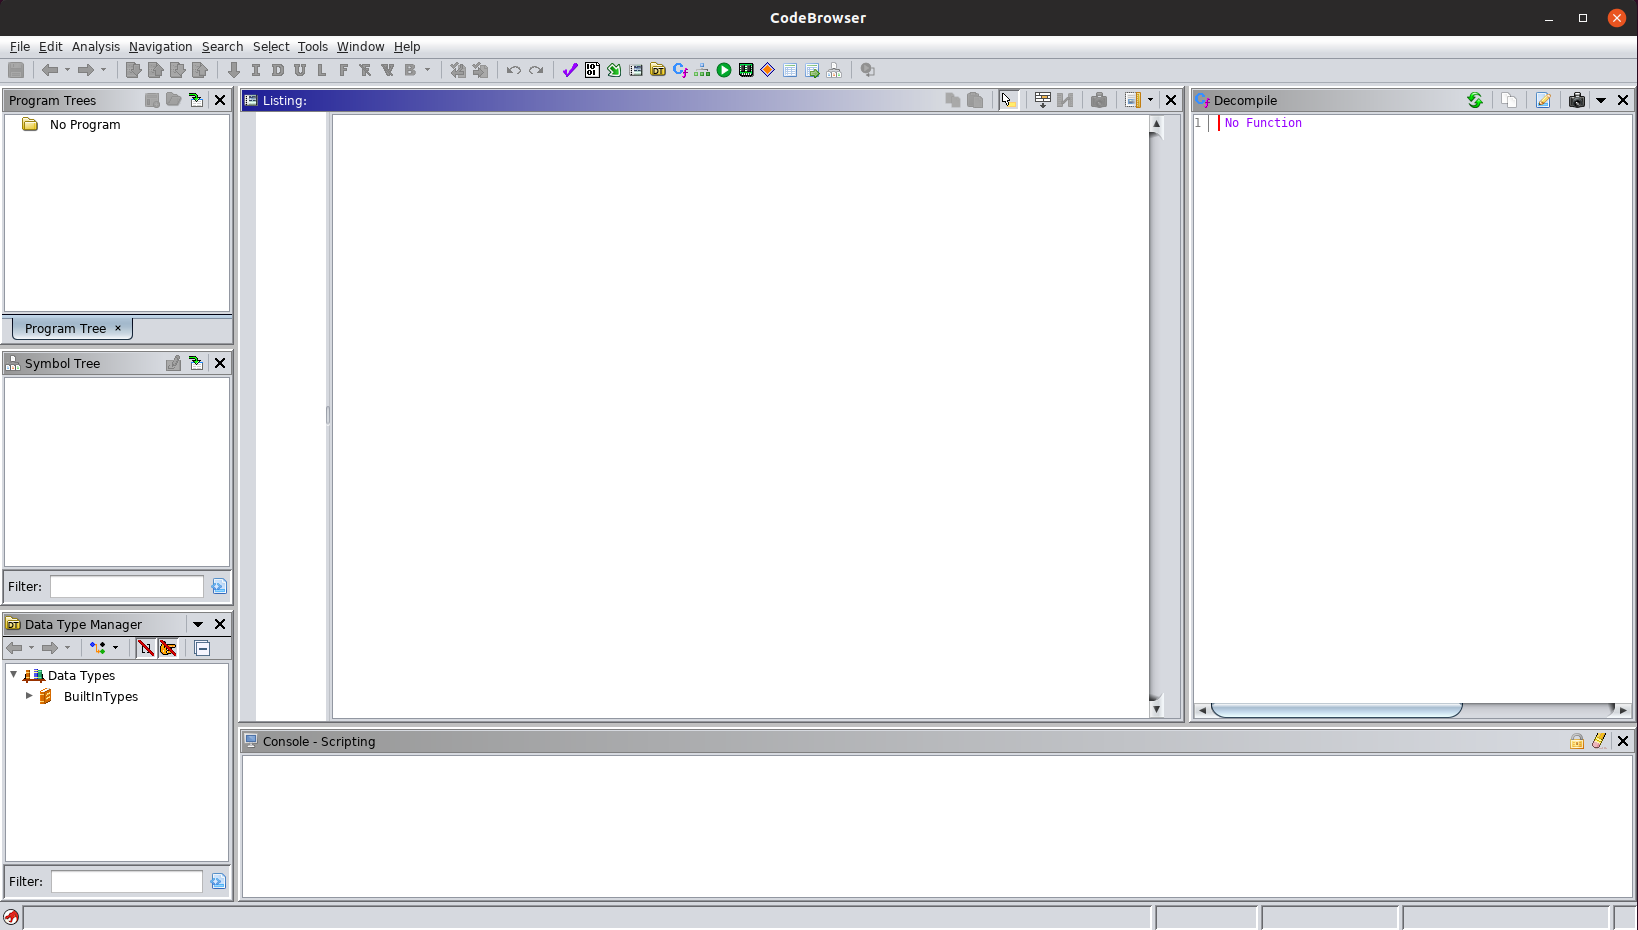
After that you’ll see a window that looks something like this
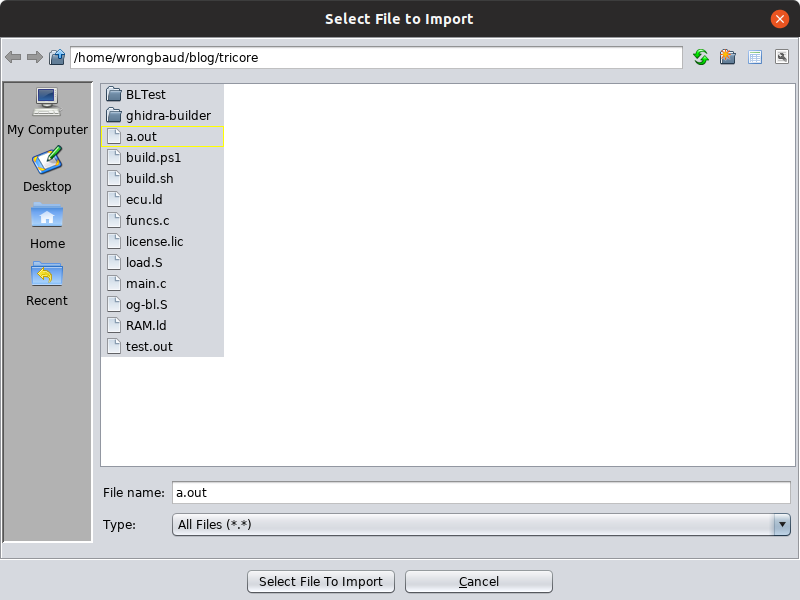
Now go to File –> Import File
Select the binary that we just generated
After selecting the binary a new options window will appear, under the Language option click on the three dots to open the language options
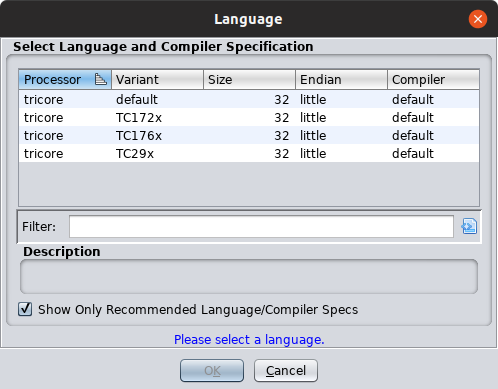
Select the TC176X option since we are targeting a TC1767 CPU, click OK. When asked to analyze, click Yes and click Analyze on the following window. You can also close the Import Results Summary window as well.
Once the binary has been loaded, you’ll probably that some of the functions generated by the compiler are not initially recognized and disassembled.
Press G and enter the address 0x800000AC you should see something similar to below:

For whatever reason, the autoanalysis stopped disassembling here, pressing ‘'’d’’’ at address 0x800000B0 will disassemble code there. The first time we do this, we disassemble the following instruction: jl __init_csa for those of you who are unfamiliar with the Tricore Architecture, this function initializes what is called the “Context Save Area” which is critical for performing call instructions as this is the region of memory that stores the context for functions when they are called. After this function we see a few more jl calls that were inserted by our toolchain, eventually we see a jump to main!
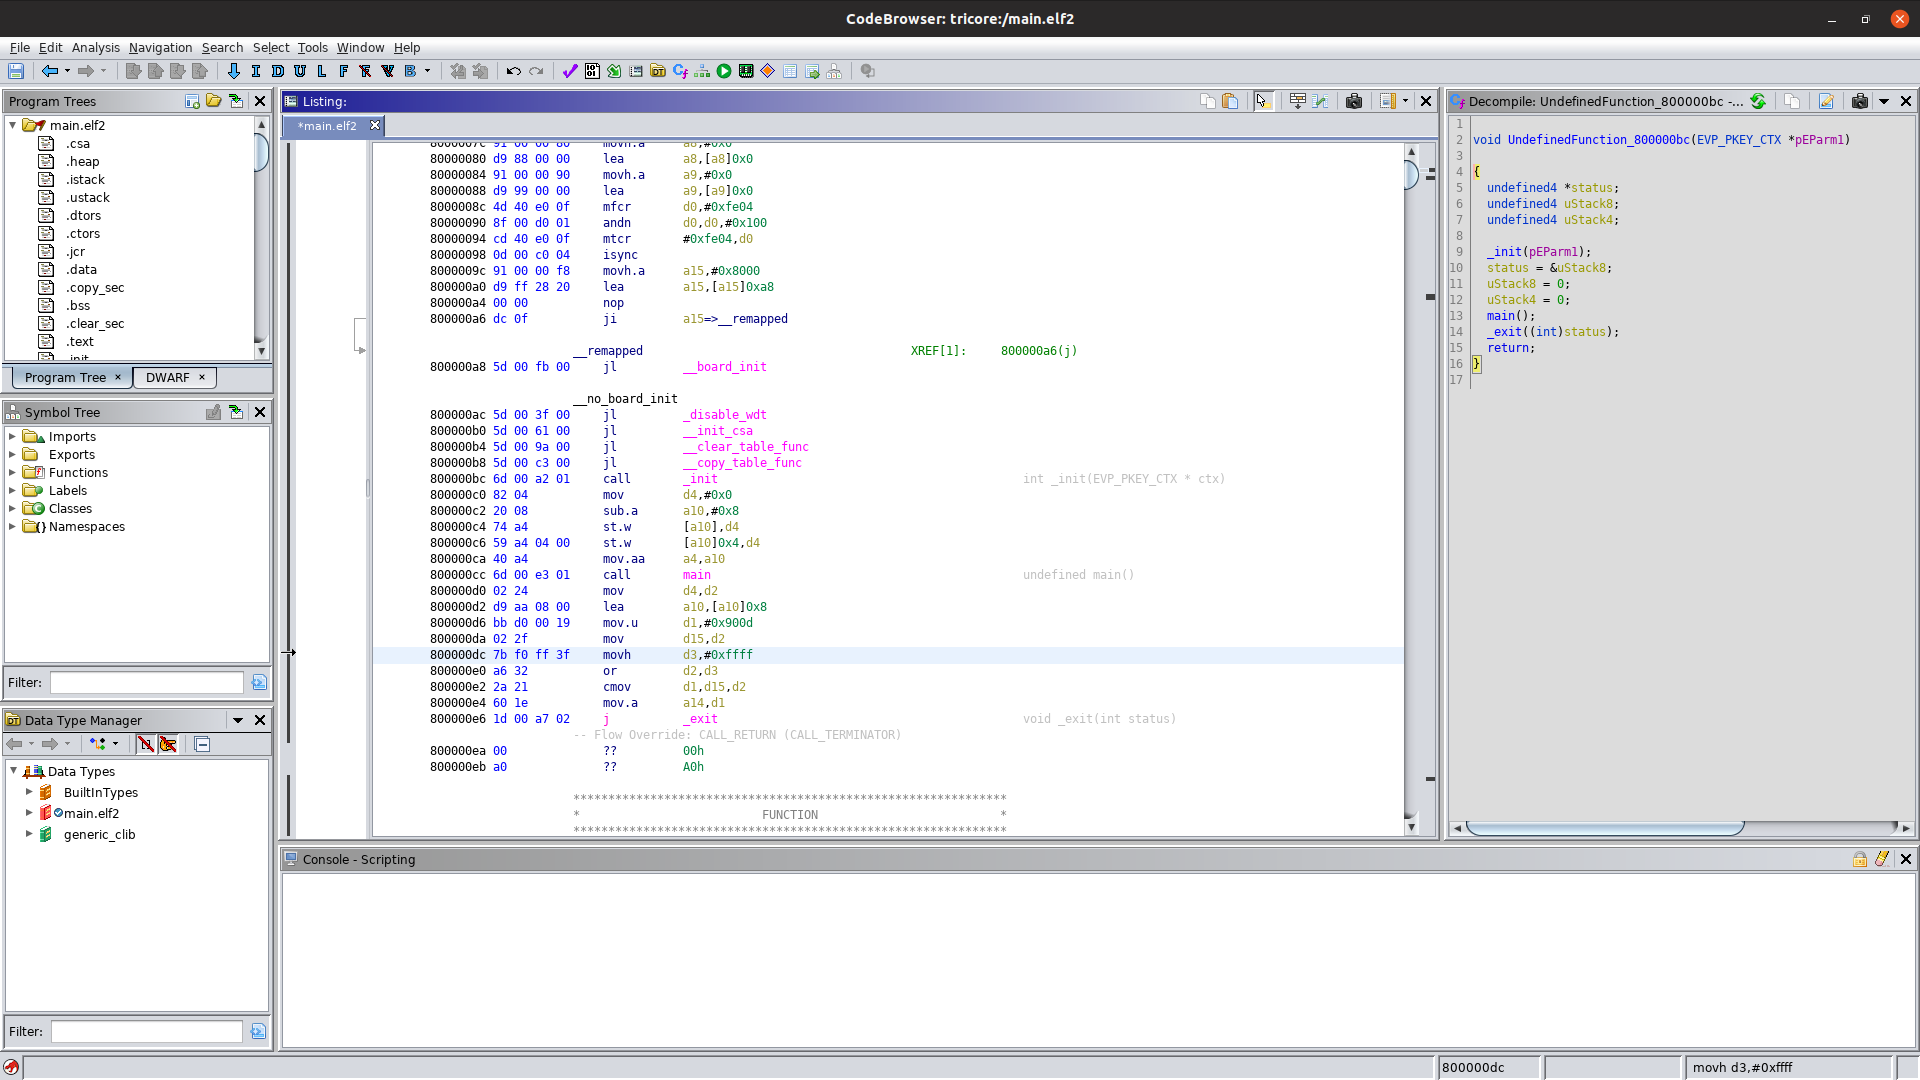
Clicking on main takes us to the following window displaying the code we wrote earlier!

Looks pretty similar to what we wrote before!
Conclusion
With this post, we’ve set up a toolchain for Tricore CPUs under Linux, using this toolchain we wrote a very simple C program to toggle GPIO lines. We also built the latest version of Ghidra using a docker container. Lastly we disassembled and decompiled a target binary using Ghidra!
Helpful Links
- Tricore Example Code / Loaders (will be useful for later posts)
Blog Updates (as of 2022):
Future blog posts and entries can be found here.
If you are interested in learning more about reverse engineering check out my 5 day hardware hacking course, public and private offerings are available upon request
Never want to miss an update or blog post? Check out my mailing list for a quarterly newsletter about reverse engineering embedded devices